Quick Navigation:

clean install macOS Sonoma

Performing a clean install of macOS Sonoma is an excellent way to refresh your Mac, eliminate software issues, and start with a clean slate. Whether you're upgrading from a previous macOS version, experiencing persistent problems, or simply want to declutter your system, a clean install ensures that you get the most out of macOS Sonoma. This comprehensive guide will walk you through everything you need to know to successfully clean install macOS Sonoma, from preparing your Mac to the final setup.

Why Choose a Clean Install?

Wiping the hard drive of your Mac and installing a new copy of the operating system is known as a "clean install" of macOS. Unlike an upgrade or reinstall that retains your files, apps, and settings, a clean install removes everything, leaving you with a brand-new system. Here are some key reasons to consider a clean install:

  • Eliminate Software Issues: If your Mac is plagued by persistent bugs, crashes, or performance slowdowns, a clean install can often resolve these issues by removing any corrupted files or incompatible software.
  • Start Fresh: Over time, your Mac accumulates files, apps, and system clutter that can slow it down. A clean install removes everything, allowing you to start fresh and only reinstall what you need.
  • Maximize Performance: With a clean system, you can enjoy the full speed and performance of macOS Sonoma, unburdened by legacy software or files.
  • Prepare for a New Owner: If you are selling or gifting your Mac, a clean install is the best way to ensure all your personal data is securely erased.

Step 1: Prepare Your Mac for a Clean Install

Before you start the clean install process, there are a few crucial steps to take to ensure everything goes smoothly.

1. Backup Your Data

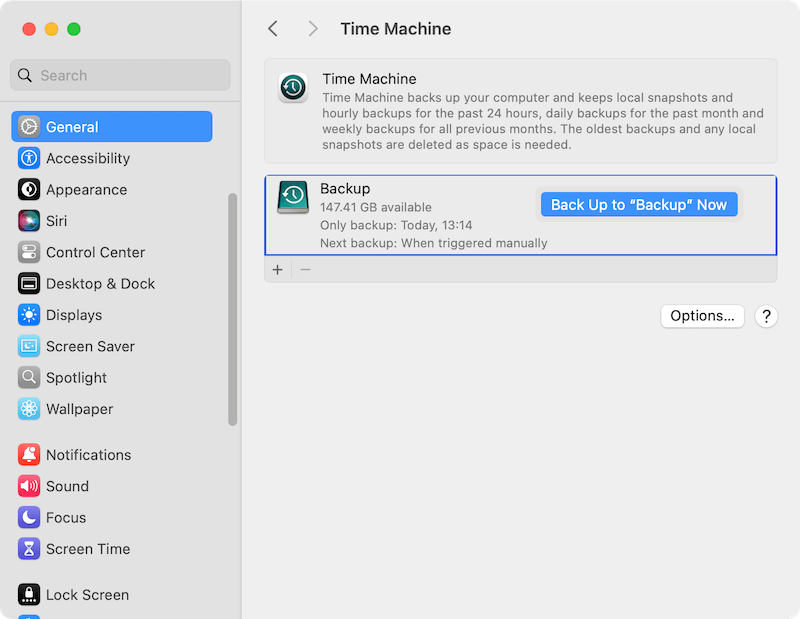
Since a clean install will erase everything on your Mac, it's essential to back up your data first. You can use Time Machine to create a full backup of your system, or manually copy important files to an external drive or cloud storage service.

  • Using Time Machine:
    • Connect an external drive to your Mac.
    • Go to System Settings > General > Time Machine.
    • Select the external drive as your backup disk and click Back Up Now.

    clean install macOS Sonoma

  • Manual Backup:
    • Copy important files, such as documents, photos, and videos, to an external drive or cloud storage.
    • Export data from apps like Mail, Contacts, and Calendars if needed.

2. Create a Bootable macOS Sonoma Installer

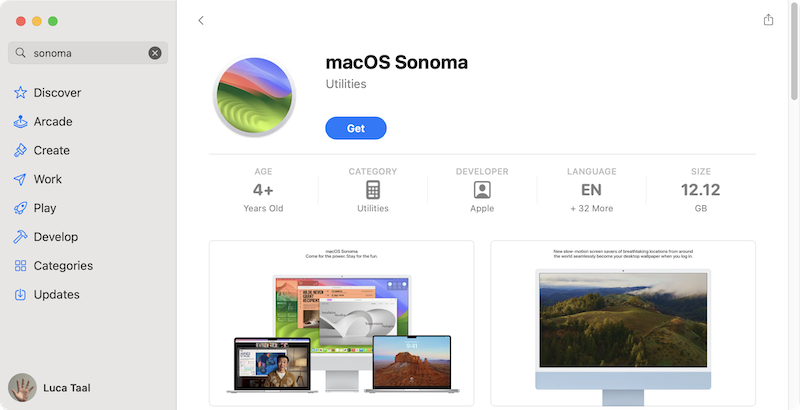
To perform a clean install, you'll need a bootable macOS Sonoma installer. Here's how to create one:

  • Download macOS Sonoma:
    • Open the App Store on your Mac.
    • Search for macOS Sonoma and click Get to download the installer.

    clean install macOS Sonoma

  • Create a Bootable Installer:
    • Insert a USB flash drive with at least 16GB of storage.
    • Open Terminal from Applications > Utilities.

      clean install macOS Sonoma

    • Type the following command, replacing MyVolume with the name of your USB drive:

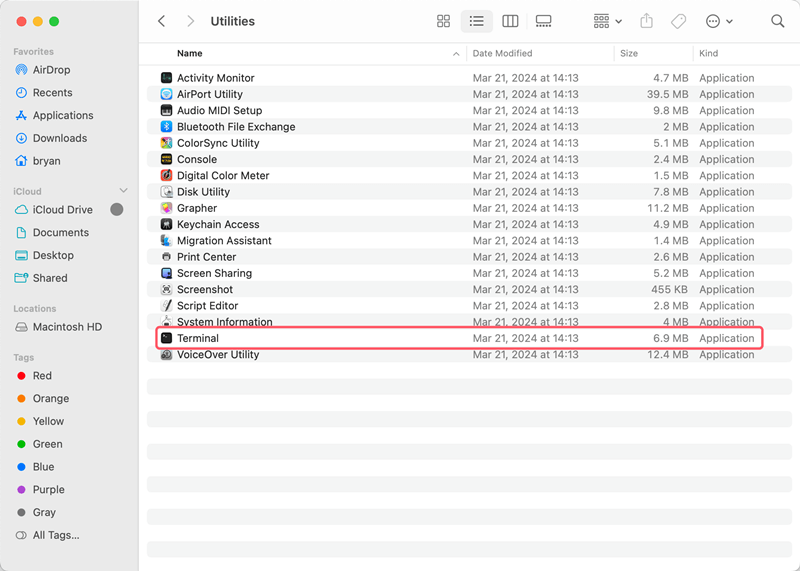
      sudo /Applications/Install\ macOS\ Sonoma.app/Contents/Resources/createinstallmedia --volume /Volumes/MyVolume

    • Press Enter and enter your administrator password when prompted.
    • Wait for the process to complete. Once done, you'll have a bootable macOS Sonoma installer on your USB drive.

    clean install macOS Sonoma

3. Sign Out of Accounts and Deauthorize Services

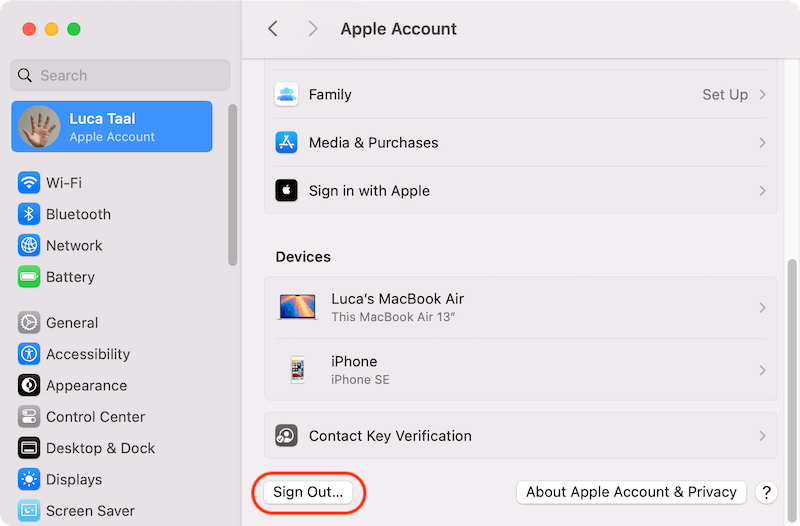
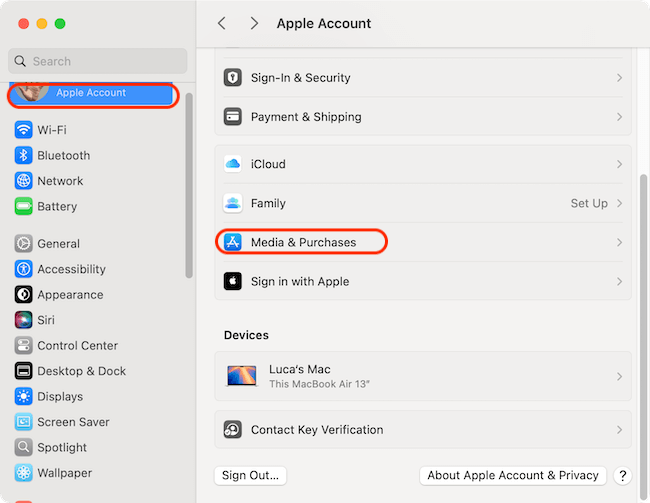
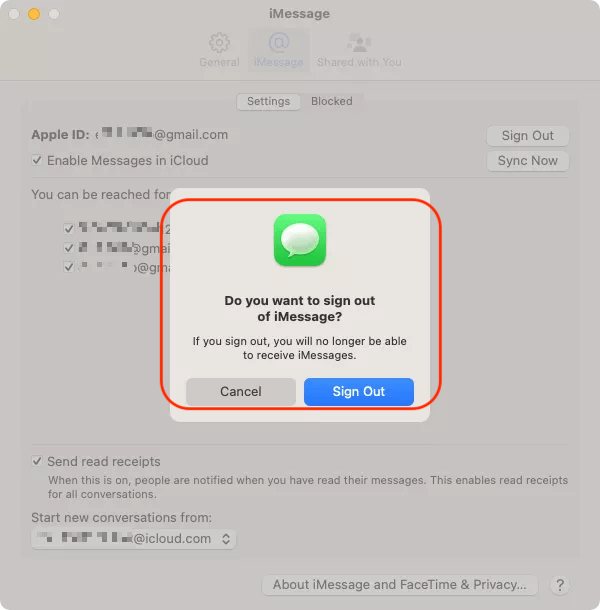
Before erasing your Mac, it's important to sign out of your Apple ID and other accounts to prevent activation issues later.

  • iCloud:
    • Go to System Settings > [Your Name] > iCloud and click Sign Out.

      clean install macOS Sonoma

  • iTunes & App Store:
    • Go to System Settings, and then click the account. Select the Media and Purchases option.

      clean install macOS Sonoma

    • Click Sign Out option and it will sign out your App Store, Music and other apps.

      clean install macOS Sonoma

  • Messages:
    • Open Messages, go to Settings > iMessage, and click Sign Out.

    clean install macOS Sonoma

Step 2: Perform the Clean Install

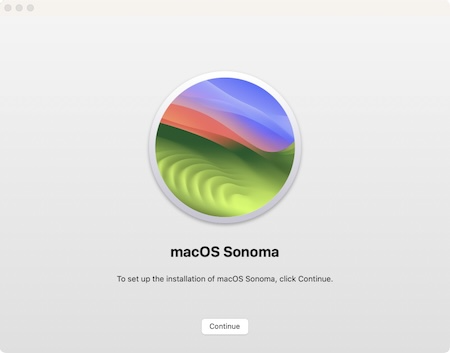
With your Mac prepared, you can now proceed with the clean install of macOS Sonoma.

1. Boot from the macOS Sonoma Installer

  • Insert the Bootable USB Drive: Plug in the USB drive containing the macOS Sonoma installer.
  • Restart Your Mac: Click the Apple logo in the top-left corner and select Restart.

    clean install macOS Sonoma

  • Enter Startup Options: Immediately press and hold the Option (⌥) key while your Mac restarts.
  • Select the Installer: When the Startup Manager appears, select the bootable USB drive with the macOS Sonoma installer and press Return.

    clean install macOS Sonoma

2. Erase Your Mac's Hard Drive

To get your Mac ready for the clean install, you must delete its hard drive after it has booted from the installer.

  • Launch Disk Utility: Choose Disk Utility from the macOS Utilities menu and press the Next button.
  • Choose Your Startup Drive: Select your startup disk from the sidebar; it is typically labeled "Macintosh HD."
  • To erase the disk, click the Erase button at the window's top. Select APFS as the file system and name your disk (for example, "Macintosh HD").
  • Verify Erasure: To completely erase your disk, click Erase. When finished, click Close to bring up the macOS Utilities window again.

    clean install macOS Sonoma

3. Install macOS Sonoma

With your disk erased, you're ready to install macOS Sonoma.

  • Start the Installation: From the macOS Utilities window, select Install macOS and click Continue.
  • Follow On-Screen Instructions: Agree to the terms and conditions, then select your freshly erased disk (e.g., "Macintosh HD") as the installation destination.
  • Install macOS Sonoma: The installation process will begin, and your Mac will restart several times. This can take some time, so be patient.

    clean install macOS Sonoma

Step 3: Set Up Your Mac After the Clean Install

After macOS Sonoma has been installed, you'll be guided through the initial setup process. Here's how to set up your Mac after a clean install:

1. Choose Your Settings

When your Mac restarts, you'll be prompted to select your country or region, preferred language, and keyboard layout. Follow the on-screen instructions to customize these settings.

2. Connect to Wi-Fi

Next, connect your Mac to a Wi-Fi network to proceed with the setup. Select your network from the list and enter the password.

3. Sign In with Your Apple ID

You'll be asked to sign in with your Apple ID. This will allow you to access iCloud, the App Store, and other Apple services.

  • Sign In: Enter your Apple ID and password, then follow the prompts to set up two-factor authentication if you haven't already.
  • Restore from iCloud: If you backed up your data to iCloud, you'll have the option to restore your apps, settings, and files.

4. Set Up Screen Time, Siri, and Other Features

During the setup process, you'll be asked to configure additional features like "Screen Time", "Siri", and "FileVault" encryption. You can customize these settings now or skip them and configure them later in System Settings.

5. Customize Your macOS Experience

Once the initial setup is complete, you'll be taken to the macOS Sonoma desktop. From here, you can begin customizing your Mac to suit your preferences.

  • Install Applications: Download and install any apps you need from the App Store or from developers' websites.
  • Restore Data: If you backed up your data manually or using Time Machine, now is the time to restore your files with Time Machine backups.
  • Personalize System Settings: Go to "System Settings" to adjust your preferences for display, sound, notifications, and more.

Step 4: Post-Installation Tips

After completing a clean install of macOS Sonoma, there are a few additional steps you can take to optimize your system and ensure everything runs smoothly.

1. Check for Updates

Even after installing macOS Sonoma, there may be additional updates available. Go to System Settings > General > Software Update to check for and install any available updates.

2. Reconfigure Security Settings

If you opted to skip setting up FileVault or other security features during the initial setup, you can do so now:

  • Enable FileVault: Go to System Settings > Privacy & Security > FileVault to encrypt your Mac's disk.
  • Set Up Touch ID: If your Mac has a Touch ID sensor, configure it for quick and secure access.
  • Configure Firewall: Go to System Settings > Network > Firewall to enable and configure your Mac's firewall for added protection.

3. Restore and Organize Your Data

With your clean install complete, it's time to restore your data and get organized:

  • Restore Time Machine Backup: If you used Time Machine to back up your data, you can restore it now.

    clean install macOS Sonoma

  • Organize Files: Take the opportunity to organize your files, declutter your folders, and establish a backup routine to keep your data safe.

4. Reinstall Essential Applications

Only install the applications you truly need to keep your system lean and fast. Avoid reinstalling outdated or unnecessary software that could slow down your Mac.

5. Monitor System Performance

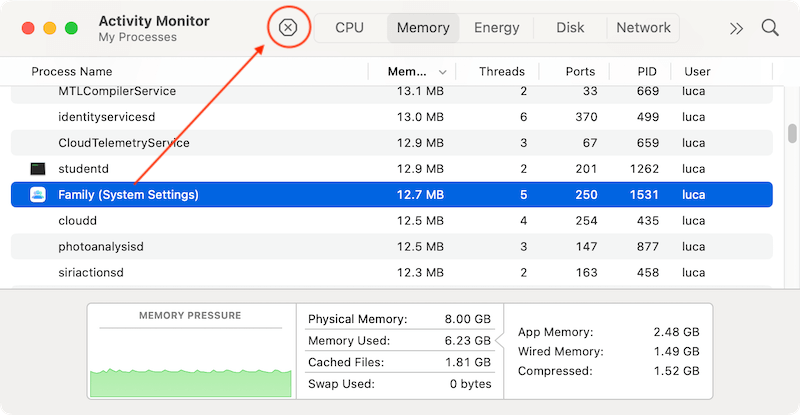
After performing a clean install, keep an eye on your Mac's performance. Use tools like Activity Monitor to monitor CPU and memory usage, and ensure your Mac is running smoothly.

clean install macOS Sonoma

Conclusion

Performing a clean install of macOS Sonoma is an effective way to rejuvenate your Mac, resolve persistent software issues, and enjoy a clutter-free, optimized system. By following the steps outlined in this guide, you can confidently erase your Mac's hard drive, install a fresh copy of macOS Sonoma, and set up your system just the way you like it. Whether you're preparing your Mac for sale, troubleshooting performance issues, or simply seeking a fresh start, a clean install ensures that your Mac is running at its best. Remember to back up your data, create a bootable installer, and carefully follow the installation process for a smooth and successful clean install experience.

Hot Magoshare Products

Magoshare Data Recovery for Mac

Magoshare Data Recovery for Mac

The best Mac data recovery software to recover deleted, formatted or lost data.

Free Trial
AweEraser for Mac

AweEraser for Mac

Securely and permanently erase data before selling, donating or giving away Mac.

Free Trial
AweClone for Mac

AweClone for Mac

Clone startup disk, external disk, USB flash drive, memory card and more on Mac.

Free Trial