Cloning Mac data to SSD is an excellent option to back up your Mac data. It sounds like something very complicated, right? Well, it is not totally true. You can copy your data using a good disk cloning software. Through this guide, you will learn how to use one of the best disk cloning software, known as AweClone for Mac. It is a very simple tool to move your relevant data to other drives and protect them in case your computer gets damaged. Just continue reading in order to get more details.
How to easily clone Mac data to SSD?
If you are looking for an easy solution to clone Mac data to SSD, you have just come to the right place. Here, we will recommend using AweClone for Mac, a powerful disk cloning software. It could be your best choice if you are planning to move your files to a SSD. A SSD is a storage device, which keeps stored information in a permanent state. A solid state drive is different from a hard disk drive because it does not have moving parts and uses a flash memory instead of magnetic platters.
Many users choose to clone information due to different reasons. Some of them only need to get a data backup to make sure their files can be used later. Others decide to move their information because their computers or devices are very old, damaged or corrupted. This is a way to protect their important data. Some of these people might feel worried when doing this backup and that is why we will show you a very easy and reliable option to clone all your Mac files. Just download AweClone for Mac and let it work.
AweClone for Mac will help you clone your Mac files in a very easy and secure way. It offers a very quick solution to transfer your data to another drive. If it is a solid state drive, you need to connect it to your Mac computer and follow some simple steps to clone your data:
Step 1: Download and install AweClone for Mac.
The first thing you have to do is downloading and installing AweClone for Mac on your Mac computer. Then, open it from Launchpad.
Step 2: Choose source hard disk drive and destination SSD.
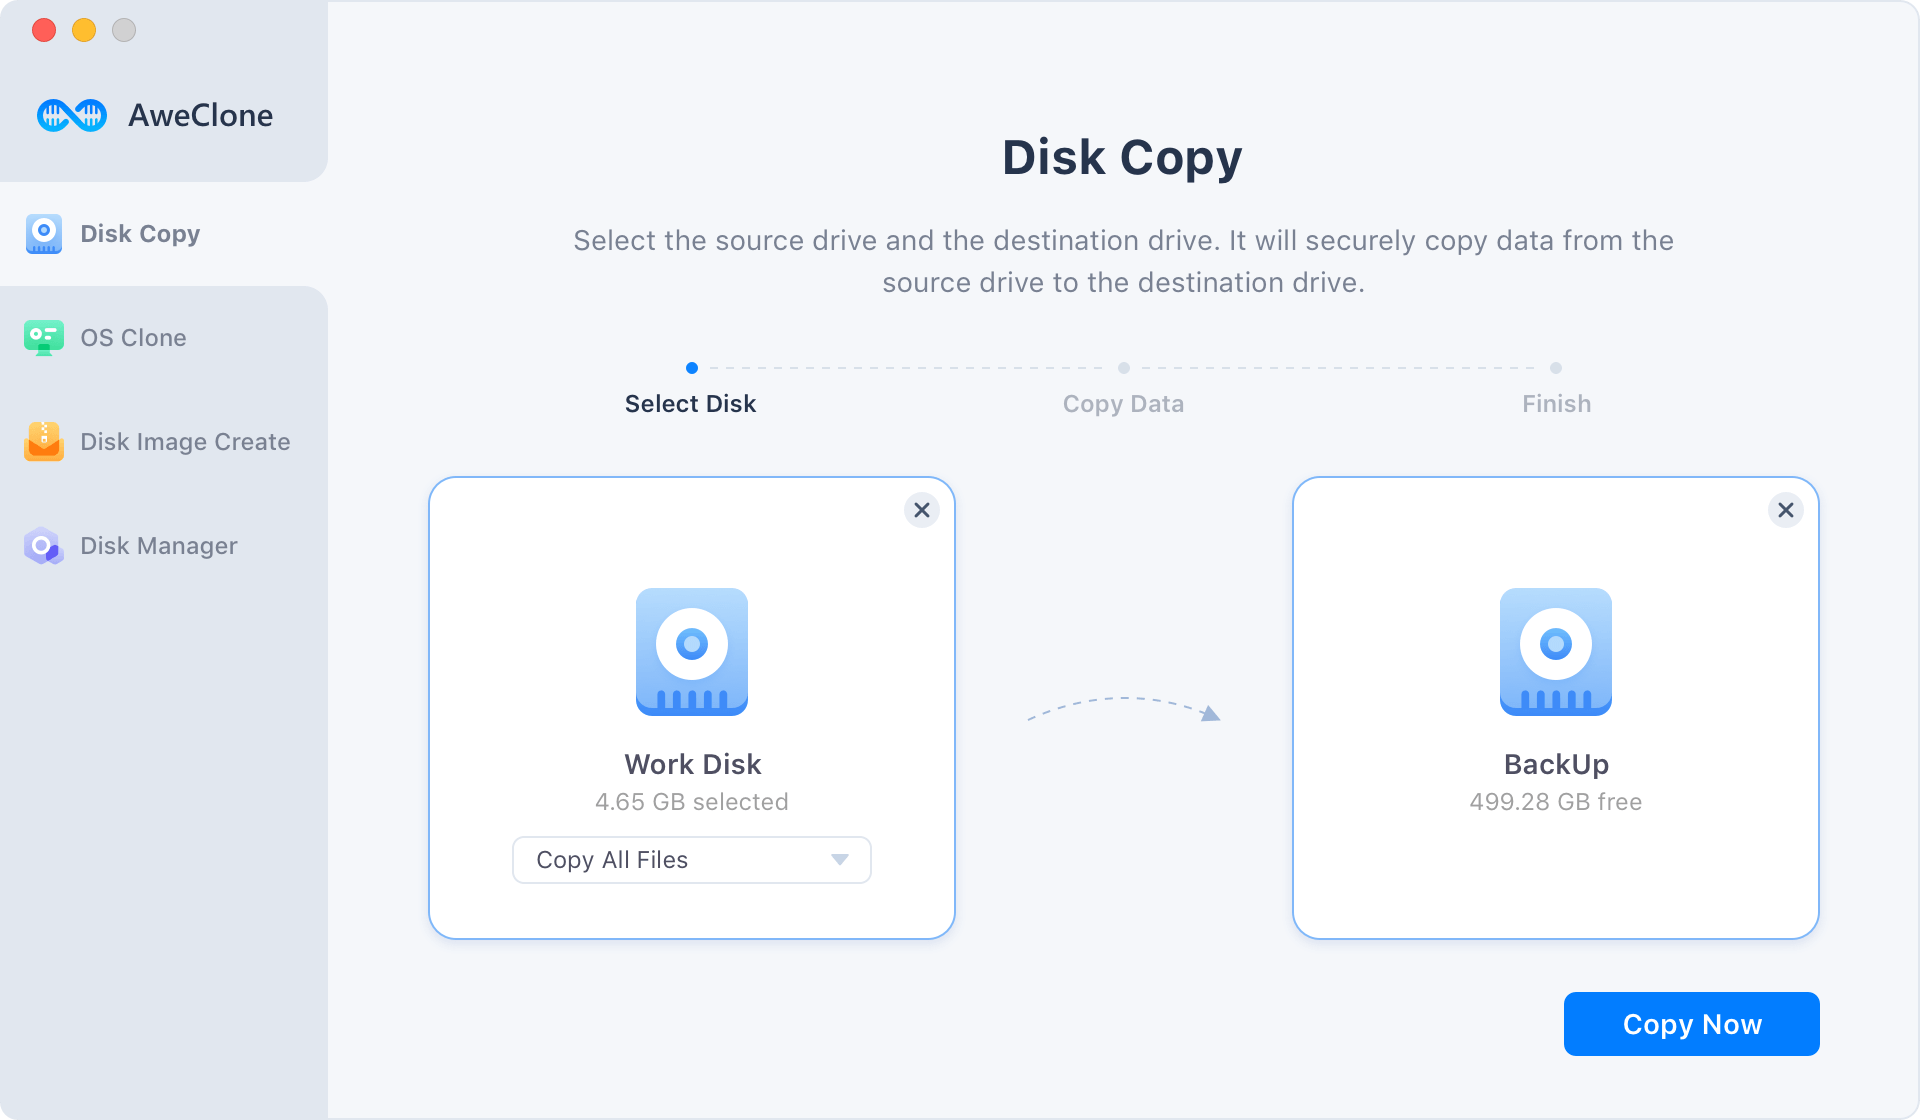
After running AweClone on your Mac, you need to choose the source drive and destination drive. In his case, destination drive is a solid state drive.

Step 3: Clone Mac data to SSD.
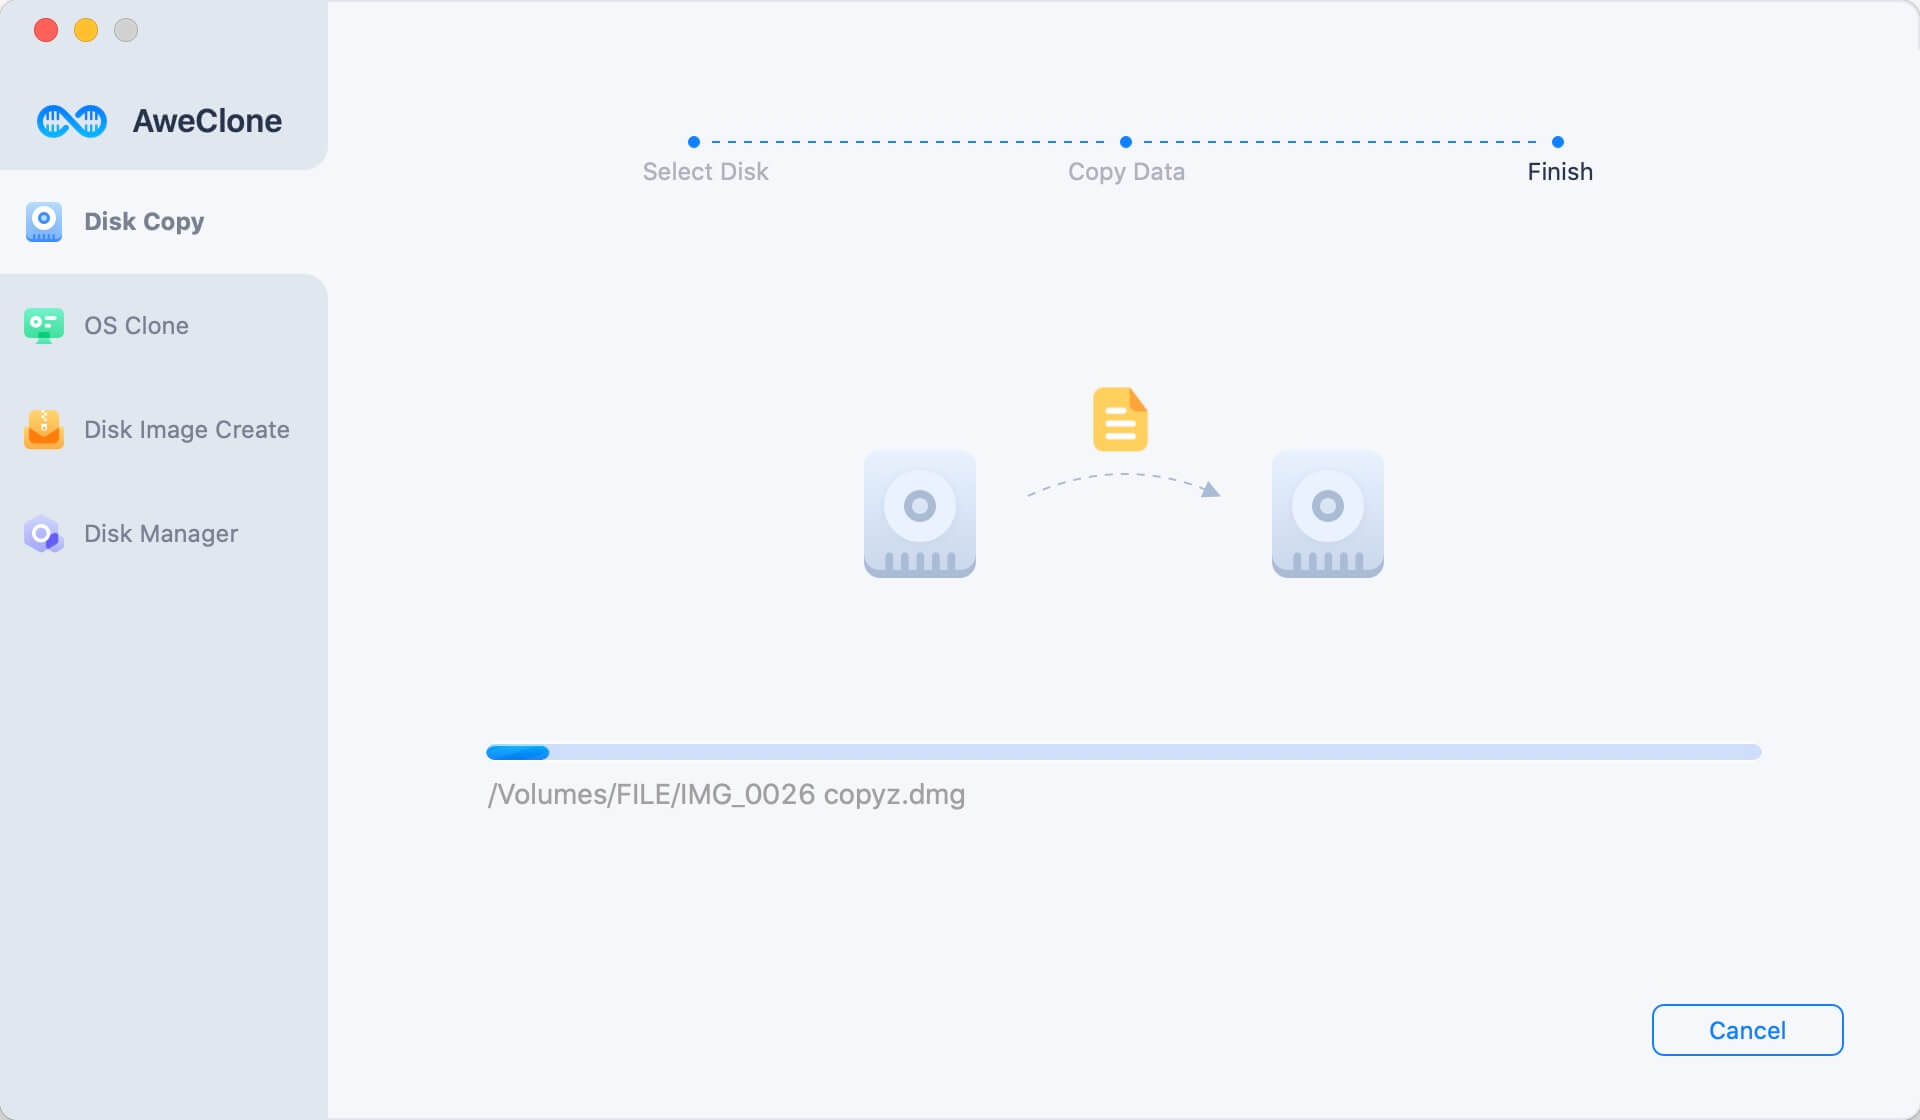
Once you have selected both drives, you can begin to clone your Mac data. Just click on the Copy Now button and wait until this task is completed. When it is over, you can check if everything is good. If so, you have transferred your Mac files to a SSD in a successful way.

Create a bootable clone backup with external SSD
OS Clone mode can help you securely clone Mac startup disk to an external SSD and make a bootable disk. Just select the external SSD as the destination drive and click on Clone Now button to securely clone Mac startup disk to the external hard drive.

Create disk image of Mac and save it on SSD
AweClone for Mac can help you easily clone Mac data to a SSD. Just follow the steps above to quickly make a full backup of your data. It also can create a disk image of your Mac data and save it to your SSD. Just follow the steps below.
Step 1: Choose mode Create Image Backup.
Choose mode Create Image Backup, and then choose the Mac hard drive as the source drive and choose the SSD as the destination drive.

Step 2: Create disk image of Mac data and save it to SSD.
Just click on Create Image button. You can save a Zip or DMG file to your SSD.

It is very important to make a backup of your data on Mac. AweClone for Mac is able to help you quickly clone Mac hard drive to a SSD. Just download it now:


