For the most part, external hard drives are intended for use with Windows PCs. In order to utilize an external hard drive on a Mac, you may first need to format the drive. If you want to use your Toshiba hard drive on a Mac, you'll need to do an OS-specific file system and driver formatting.
Additionally, it removes any viruses and malware that could be lurking on your computer. Learn how to format your Toshiba drive on a Mac by reading this guide.
Why Is It Important To Back Up Your Toshiba Hard Drive Before Format It For The Mac Operating System?
A backup of your Toshiba Hard Drive for Mac is usually recommended before you attempt to format the drive yourself. You need to do this because the process of formatting a Toshiba hard drive to run on a Mac entails wiping all of the data on the drive.
It would be much easier to recover your Toshiba Hard Drive's lost files if you take a backup of all of your data before formatting it. In this case, let us assume that you are currently utilizing the Drive on Windows but that you now need to format it for usage on Mac.
On Windows, let's take a backup of the Drive.
- Search for "Control panel" on your Windows start screen, and then go to "Control Panel > System and Security > Backup & Restore (Windows 7)" in the Control Panel window that opens.
- On the "Backup & Restore (Windows 7)" window, choose "Set up Backup" under the "Backup" section.

After selecting a backup destination and any other settings, just follow the wizard's instructions. Windows will begin taking a backup as soon as you finish the procedure, and after it's done, you can continue formatting your Toshiba drive for Mac.
Toshiba Hard Drive Mac Format Instructions
For Mac, here are steps to format your Toshiba hard drive.
Activate Your Mac's User Account And Attach The External Hard Drive By Plugging It In
Connecting your Toshiba hard drive to a MacBook Pro 2016 or later may need the use of an adapter cable. With Thunderbolt ports on every one of these Macs, it's easy to connect external devices. It also comes with a USB cable that has a type A connection on end.
Select Your Toshiba Drive
After just a few minutes after connecting your Toshiba drive to your Mac, you'll see an icon for it on your desktop. Your Toshiba drive may be offered to be formatted by your Mac. If not, then:
Open a Finder window and choose Preferences.

Under the general category. When you're done, you'll check the box labeled "External Disks" in the settings menu.

Your Mac's desktop should now show the Toshiba disk you connected.
Open Disk Utility
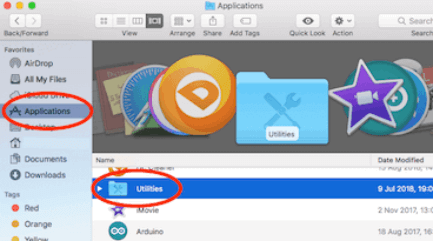
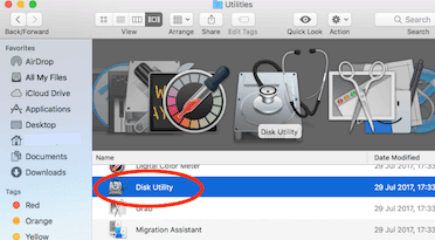
Open your Applications folder to locate Disk Utility. Open the Utilities folder in your program directory.

You may then launch Disk Utility by double-clicking.

In The Disk Utility Window, Choose Your Toshiba Drive
A list of drives on your Mac appears on the left side of the Disk Utility pop-up window. Both internal and external drives are supported. 'Internal' is where you'll find your Mac's internal hard disk. Under the 'External' section, you will find your Toshiba hard drive.
Now, choose your Toshiba external hard drive from the available devices on your computer.

Click The Erase Button
You'll find an Erase button at the top of the Disk Utility Pop Up Window.

Next, choose that option.
Configure Your Mac's Toshiba Formatting Options
You may name your Toshiba external hard drive here. A new name is entered. Put your name in the box provided. The Toshiba drive is then formatted according to your preferences.

Click The Erase Button
Disk Utility's Erase button is located at the bottom right of the screen. After that, your Mac will begin formatting the external hard disk you connected to it through USB. You'll be done with your formatting in a matter of seconds.
When You're Done, Don't Forget To Remove Your Toshiba External Hard Drive
Once you've finished using your Toshiba drive, you'll have to wait for your Mac to finish writing all it has in memory to your hard drive before you can do anything. If you don't, you run the danger of damaging your Toshiba drive's data.
- To eject a disk, you may simply right-click on the drive icon on your desktop.
- Choose Eject from the menu.
The drive symbol will vanish in a matter of seconds. With no problems, you may unplug your Mac's USB cord from your Toshiba.
Bonus Tip
Make a Hard Drive Partition. An external hard drive partitioned for use with several operating systems, such as Mac and PC, is a convenient and cost-effective solution. As a result of this, you no longer need to purchase hard drives for every computer you use.
For example, a partition may be used to store Time Machine backups or a bootable copy of your operating system. Your data is protected if your disk is infected with malware since it is confined inside one partition.
The Toshiba Hard Drives are at their optimum when formatted for the Mac operating system. To avoid any data loss, create a copy of all of your crucial files beforehand. If you follow the steps outlined above, the drive and its contents will be permanently deleted.
Remember Mac OS Extended (Journaled) formatted drives are the only ones that may be used. When using ExFAT, you don't need any driver software on your Mac to transfer data.
Please note that the data on the formatted Toshiba external hard drive still can be recovered by data recovery software. If you lose important files, you can follow this guide to get lost files back: recover deleted, formatted and lost data from a Toshiba external hard drive.
Permanently wipe data from Toshiba external hard drive on Mac
If you are going to sell, donate or give away your Toshiba external hard drive, you’d better permanently wipe data from it. Magoshare AweEraser for Mac is a powerful data erasure program. It can help you securely and permanently erase data from PC, Mac, HDD, SSD, USB flash drive, memory card, etc.
Data Eraser - AweEraser for Mac
- Permanently erase data from Toshiba external hard drive on Mac.
- Format and repair damaged Toshiba external hard drive on Mac.
- Once the data is erased by AweEraser, the data is lost forever, can’t be recovered by any data recovery software.
Now, follow the steps below to wipe data from Toshiba external hard drive on Mac:
Step 1. Download and install AweEraser for Mac on your Mac. Then open it from Launchpad.
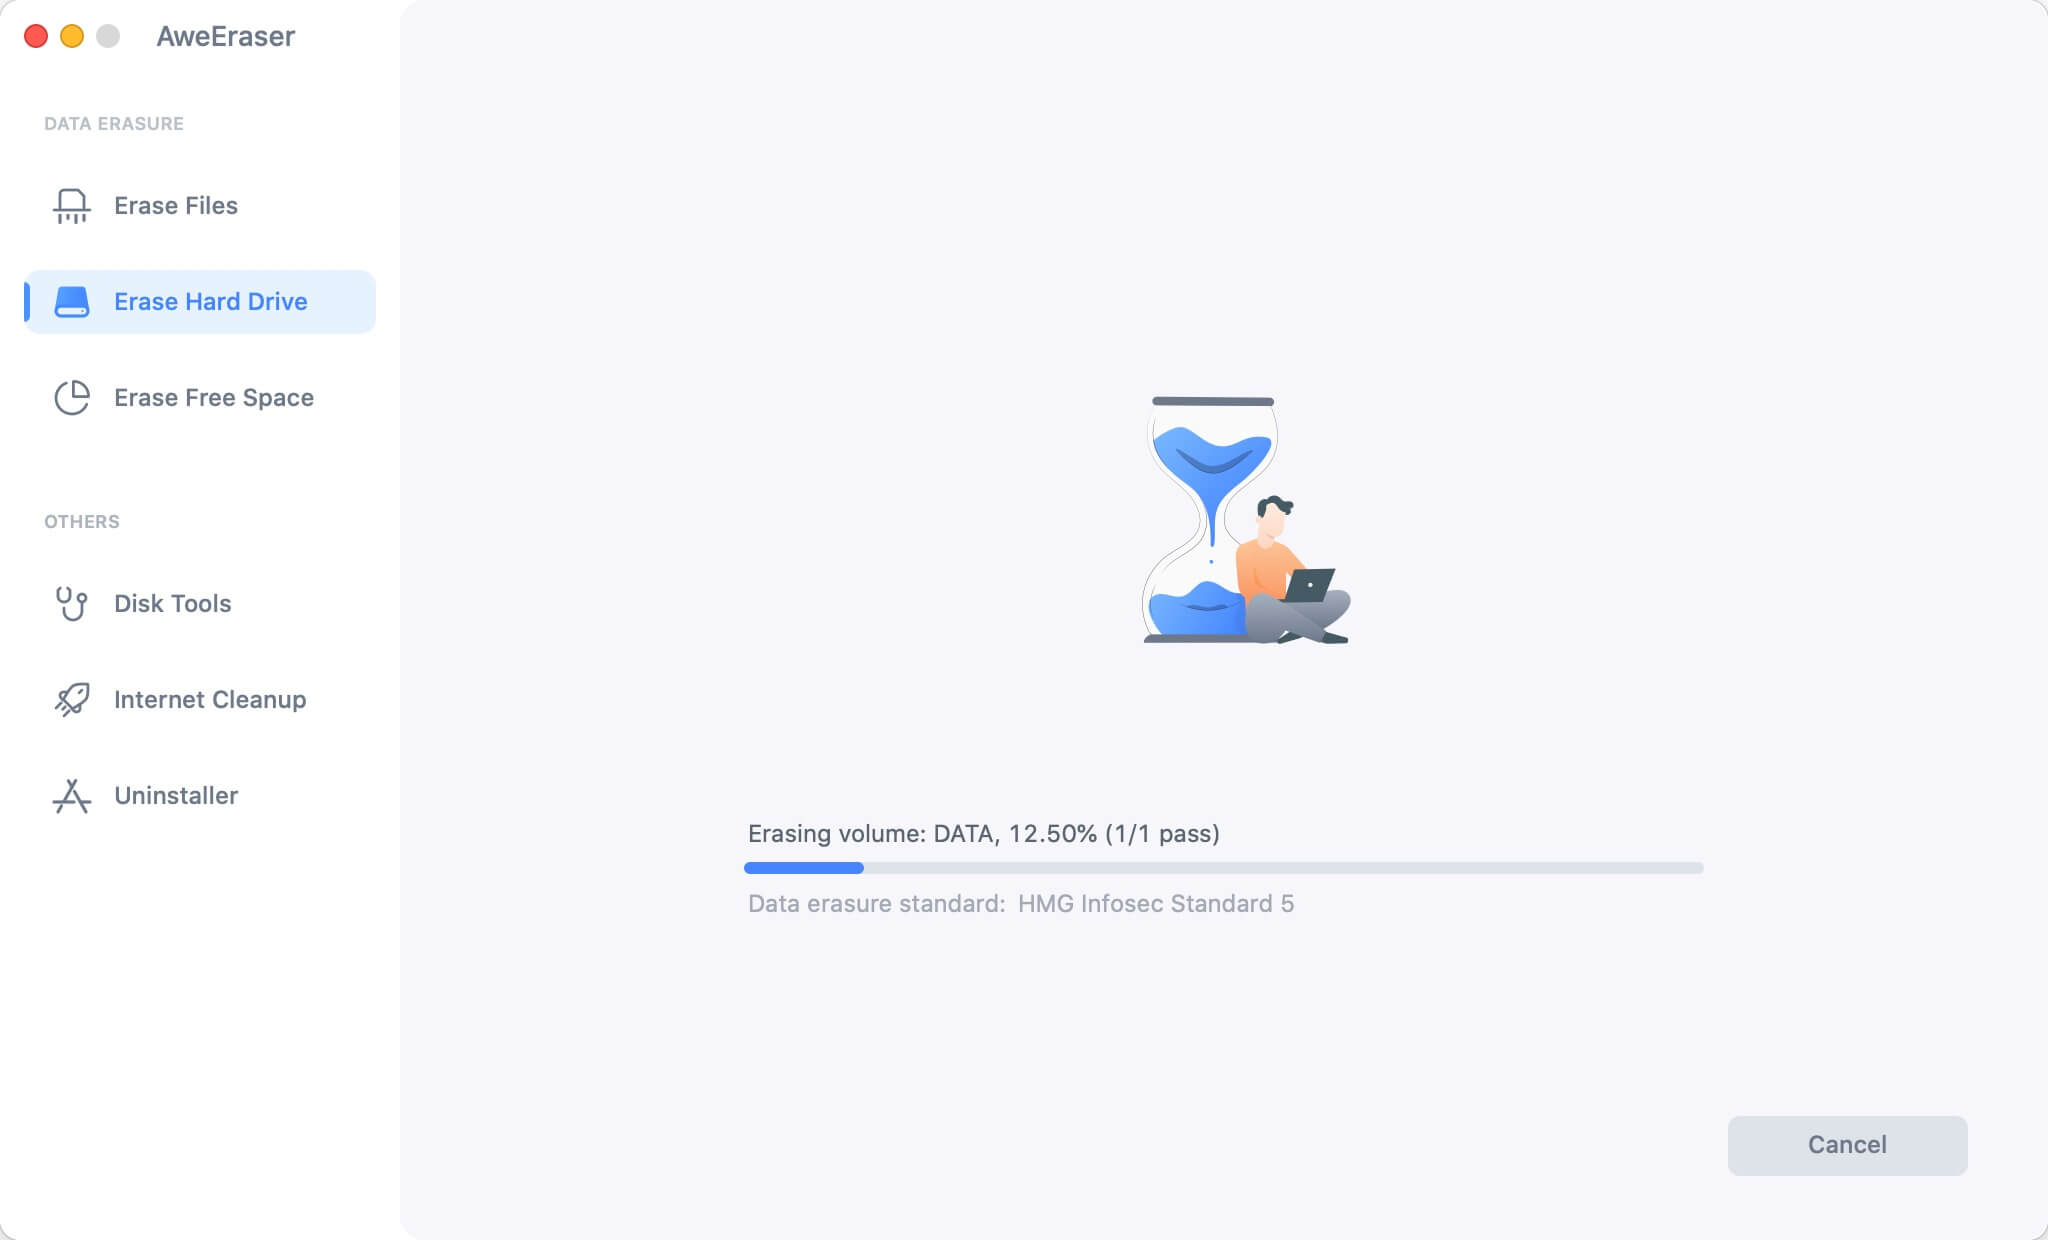
Step 2. Choose data erasure mode - Erase Hard Drive. Connect the Toshiba external hard drive to your Mac.

Step 3. Click on Erase button to permanently erase all data from the Toshiba external hard drive.

Once the process gets finished, all data on the Toshiba external hard drive is lost forever, can’t be recovered by any data recovery software.


