Creating a bootable external hard drive provides a good storage backup, expands your storage, and makes it easy to synchronize and keep your file between a desktop and a laptop. Similarly, if you would like a bootable backup copy of your system, then Disk Utility features can easily make it happen.
Although bootable hard drives are not fast enough for data transfers, they are still worth considering and provide a reliable storage option. The data rate is significantly improved with the new Thunderbolt and USB-C drives, but it still lags behind the SSDs found in the new Macs.
Using Disk Utility to Create Backup:
You can create a storage backup using disk utility; you need to open it from the spotlight (command + space) or open it from the utility folder in your application. Once it opens up, you can see the storage drives with their volumes, including internal and external hard drives.
Creating Backup:
There are multiple features and options available in the disk utility. The restore button allows you to copy your backup files to your main drive; these are the same files used by macOS recovery mode to restore on your hard drive if your Mac OS fails.
The same process is done by selecting an external drive as your backup drive. You can do it by selecting your external hard drive in the sidebar of the disk utility, clicking 'Restore' in the menu, and then selecting your main drive as the 'Restore From' option.

Once you click on 'Restore,' the backup utility will start the copying process; this may take a few minutes, depending on your Mac's external hardware's speed and connection. The speed is comparatively fast if using thunderbolt, USB-C, or USB 3.0 connections.
To check whether it's done, you can shut down your Mac and then turn it On, hold and press the option key; it will bring you to the boot switcher; from there, you can boot from the external hard drive.
Cloning Your Mac Using Third-Party App:
Data security and safety are becoming a top priority these days, especially for content creators or professional cloning of their Mac is an option they want to perform regularly. The built-in macOS feature called Time Machine Tool gets the job done, but its features are limited and not flexible. Therefore third-party apps are used to create clones for your Mac. Below is an example of a good third-party cloning app and how you can use this app.
Use AweClone to create a bootable clone for macOS Monterey
AweClone for Mac is one of the best disk cloning applications. It can securely and easily create a bootable clone on macOS Monterey or any other Mac operating systems.
AweClone for Mac
- Create a bootable clone for macOS Monterey.
- Clone any type of disk and external storage device on Mac.
- Create disk image on Mac.
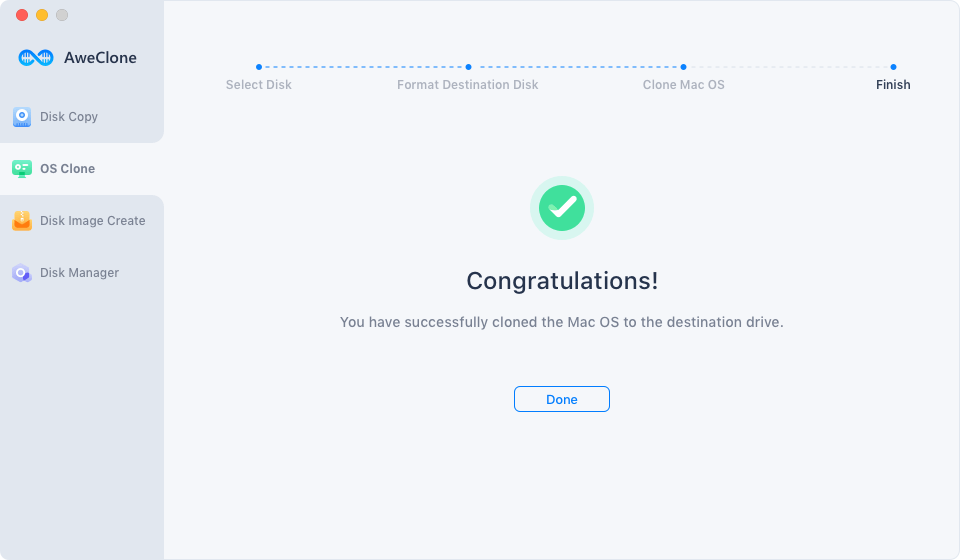
Before starting OS Clone, just connect your external hard drive to the Mac computer. Then open AweClone for Mac to clone the macOS Monterey startup disk:
Step 1. Just choose disk clone mode - OS Clone. Then select the external hard drive as the destination drive.

Step 2. Click on Clone Now button to securely clone all data on the startup disk to the destination drive.

Once the process gets finished, you’ve made a full bootable backup of the macOS Monterey.

Conclusion:
Creating a backup or cloning your Mac OS is becomes a necessity these days to the importance of data and the shortage of storage. It can be done using the default Mac OS apps or a third-party app - AweClone for Mac. It's a good and reliable way to save your data.


