“Hi, I am using macOS High Sierra for years..and now will upgrade my Mac to Monterey. However, before upgrade, I want to make a full backup of macOS High Sierra and make the backup disk be bootable, how to do that?”
Cloning your Mac is a handy feature that you may regularly use. However, the built-in Time Machine program in macOS fulfills the job, although it has certain limits and is not highly flexible. It’s possible to back up or clone your Mac’s hard drive using the disk cloning software included on your laptop.
There is a slew of uses for an external hard disk. A feature called Disk Utility makes it easy to sync data between a desktop and a laptop, expand storage, or build a bootable backup of your system, all in one place.
After installing macOS, you’ll need to find cloning software that works with the new operating system. You should always have a copy of your Mac SSD on hand if your primary drive fails and needs to restore your data.
Clones preserve your Mac’s current state rather than requiring you to update and replace older versions regularly. Keeping them is completely up to you. On the other hand, incremental backups are growing in popularity.
Users of macOS High Sierra may use the following approaches to copy their startup disks or even other storage devices to external hard drives securely and efficiently. Here, we’ll teach you how to clone a macOS High Sierra hard drive using the software.
Creating A Backup Using Disk Utility
Make a storage backup by opening Disk Utility from the Spotlight (command + space) or your application's utility folder. Storage devices, both internal and external hard disks, are visible, and also you’ll be able to view their volumes once it’s opened.
Creating A Backup
The disk utility comes with a slew of choices and functions. You may click the restore button to transfer your backup files to your primary drive; these are the identical data that macOS recovery mode uses to restore your hard disk if your Mac OS fails.
- An external hard disk may be used in the same way as your primary backup drive in this scenario. You may accomplish this by choosing your external hard drive from the Disk Utility sidebar, hitting ‘Restore’ from the menu, and then selecting your primary drive as the ‘Restore From’ option.
- It may take a few minutes for the backup program to begin the copying operation, depending on the speed and connectivity of your Mac’s external hardware. The speed is fairly quick if you use Thunderbolt, USB-C, or USB 3.0 connectors.
- Turning on and holding down the option key will bring up a boot switcher where you can choose the external hard disk to see whether everything is working.
- Securely clone macOS High Sierra startup disk to an external hard drive.
- Clone any type of hard drive on macOS High Sierra.
- Create disk image or bootable disk on macOS High Sierra.
Mac OS High Sierra 10.13 Hard Drive Clone Using AweClone
Nowadays, data safety and security are key issues, particularly for content producers or those who wish to execute professional Mac cloning regularly. Your Mac’s clones are made using third-party programs. An example of a decent third-party cloning program is shown below, as well as how to utilize this software effectively.
AweClone for Mac
Now, follow the steps below to create a bootable backup clone for macOS High Sierra:
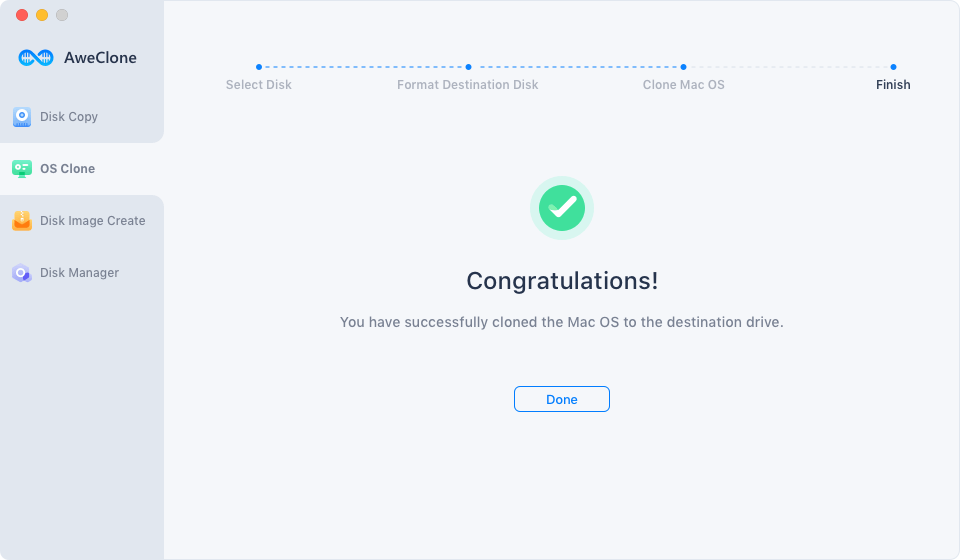
Step 1. Run AweClone for Mac, then connect an external hard drive to your Mac. Choose disk clone mode - OS Clone.

Step 2. Select the external hard drive as the destination drive.

Step 3. Click on Clone Now button. Once the process gets finished, you will get the bootable backup disk.

Conclusion
Having a Mac OS backup or clone has become essential in light of the growing value of data and the resulting limitation of available storage space. Third-party programs may also be used to do this task. It’s a safe and secure method of storing your information.


