macOS Monterey is one of the most popular operating systems. Regularly making a backup of the Mac Disk is the best way to prevent data loss on your Mac. In this article, we will show you how to clone hard drive on macOS Monterey. Whether you want to make a backup your startup disk or just want to transfer data from your SSD to an external hard drive, you can try the methods below to help you securely and easily clone data in macOS Monterey.
What Does It Mean to Clone A Mac Hard Drive?
When you clone your Mac's hard disk, you produce a flawless, bit-by-bit copy of your Mac's hard disc. It contains the information necessary to boot your system from that Copy. Of course, it's only a temporary solution for an emergency, but it's still worth having.
Do You Know the Difference Between Cloner and Time Machine?
Both are excellent backup options for personal data like photographs, videos, emails, music, applications, and documents. Time Machine is built-in backup software that comes pre-installed on every Apple computer, and it's perhaps the most accessible feature of macOS for transferring data from one machine to another.
On the other hand, Cloner is a solid third-party backup utility application for Mac users.
Time Machine generates an automatic backup of your whole hard disc to a secondary hard drive, making it simple to restore if something goes wrong. In contrast, Cloner produces backups and clones of your hard disc to preserve a safe, quick backup.
The time machine monitors your Mac once each hour and generates hourly backups silently and automatically. On the other hand, Cloner produces a clone of your whole hard drive and captures your files exactly as they are at the time.
How to Make A Clone of Your Mac's Hard Drive on macOS Monterey?
If you have a cluster of useless files in your Mac, delete them first. Using AweCleaner junk cleaner, you can quickly get rid of all trash at once. You'll save space on your external hard disc if you do it this way. Before you clone, a Mac hard Disc Utility will then assist you in getting your external hard drive ready for copying.
#1 Format Your External Hard Drive.
It's essential to note that doing so will wipe out all of its data and make it compatible with your Mac. Before starting the process, make a backup of any files you may have on the disc.

- Using Spotlight Search, navigate to Disk Utility.
- Select your hard drive from the right-hand menu.
- Then click Erase in the upper menu.
- In Format, choose Mac OS Extended.
- Select Erase.
#2 Download and install any disk cloning application which is compatible with macOS Monterey. In this article, we recommend you to try AweClone for Mac.
AweClone for Mac
- Securely and easily clone HDD, SSD, USB flash drive, external hard drive, etc on macOS Monterey.
- Copy data from one location to another with 1 click.
- Two disk clone modes: copy disk and create disk image.
- 100% safe Mac disk cloning software for macOS Monterey, Big Sur, Catalina and other OS X or macOS.
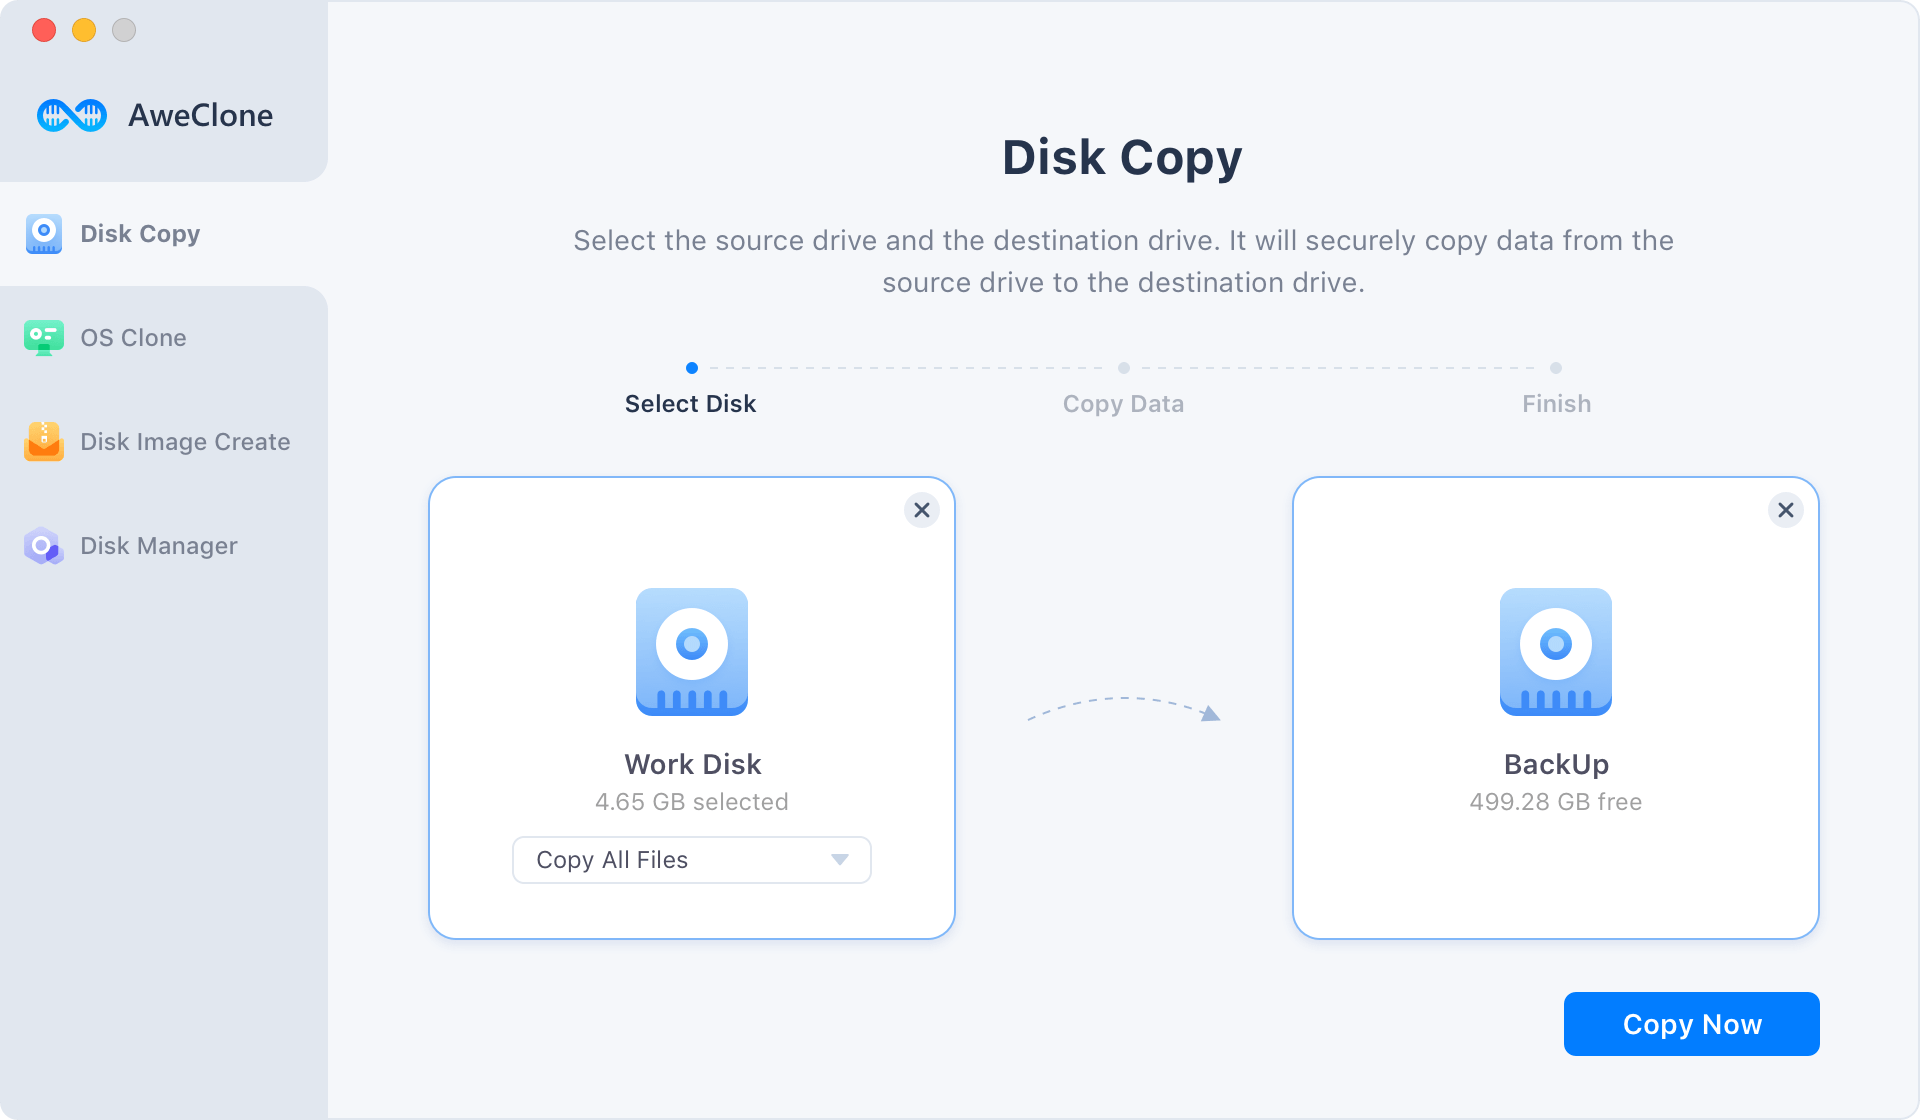
#3 Select a source drive and a destination drive. Additionally, choose Copy all files. It is the only way to move all contents from your source drive to the destination drive.

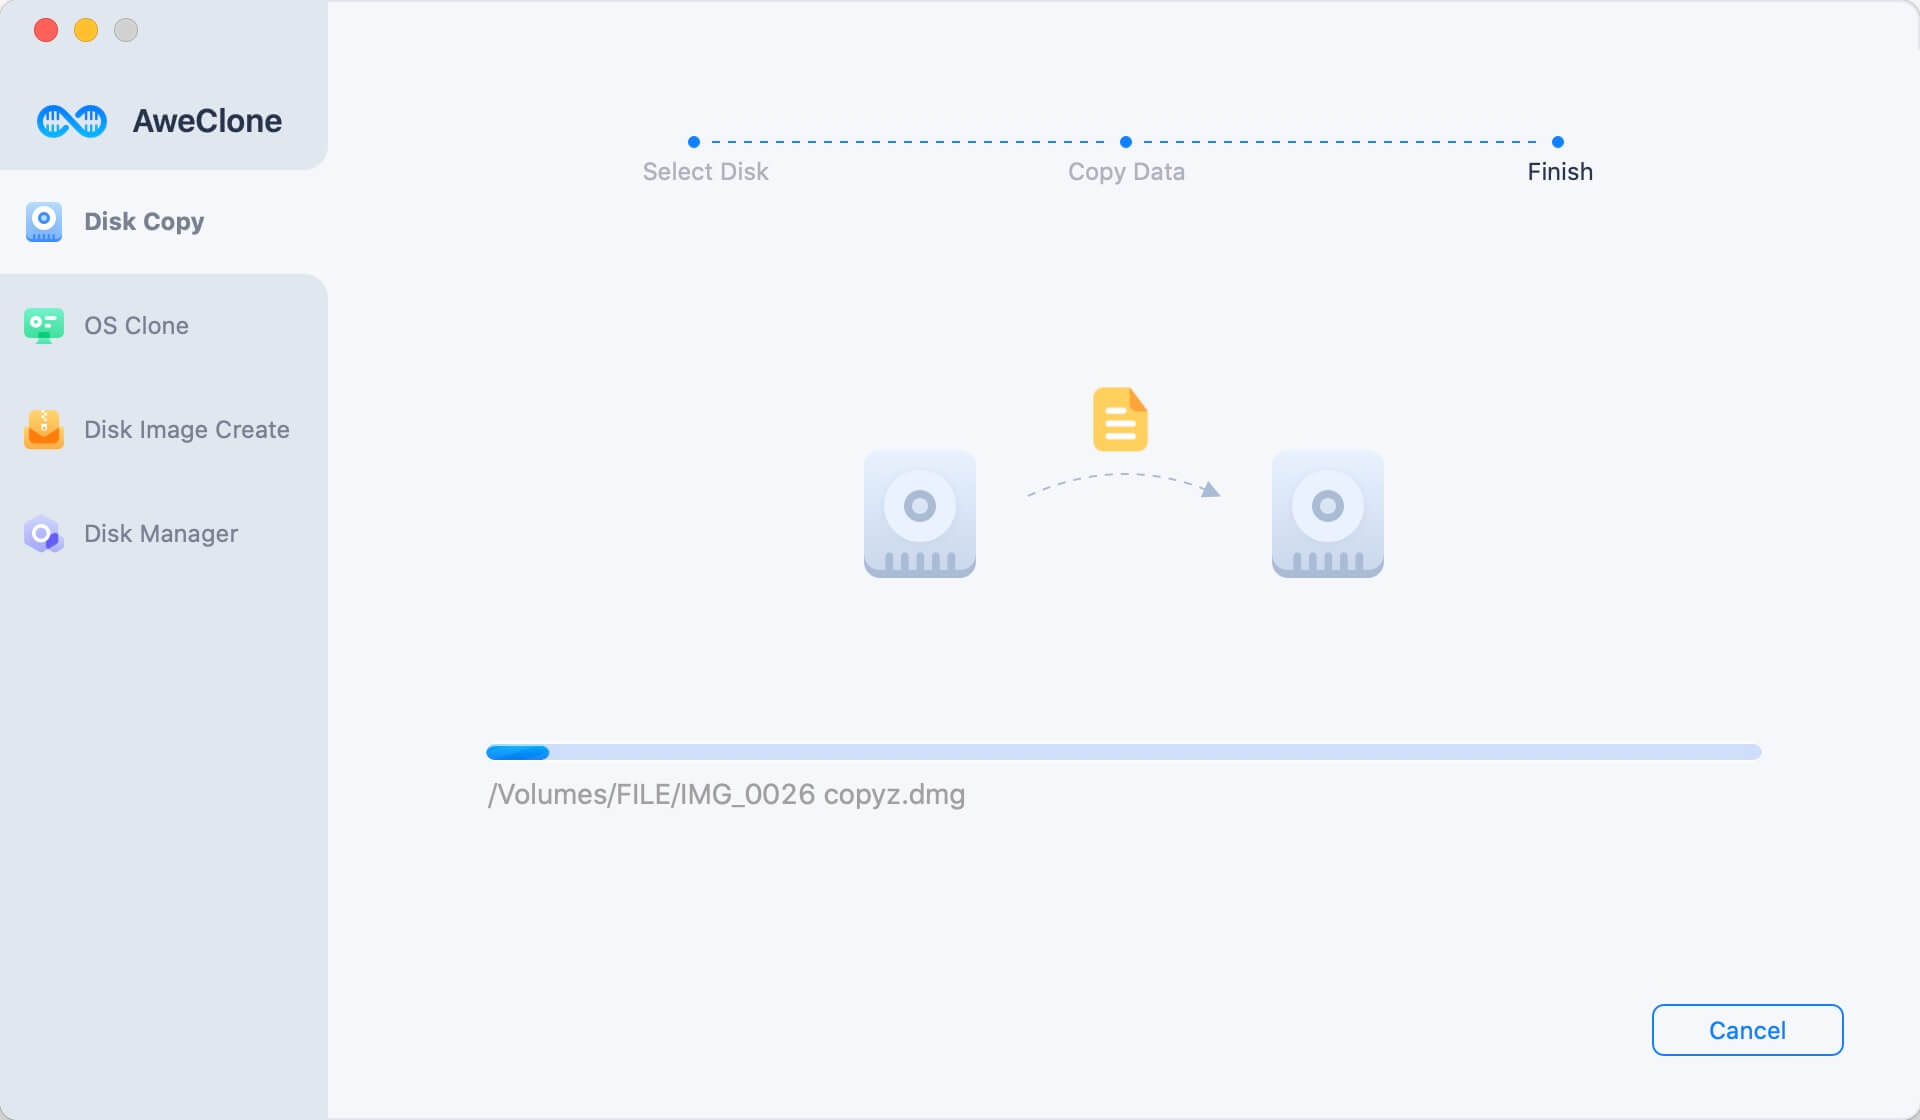
#4 Click on Copy Now button to clone the data from the source drive to the destination drive.

Once the process gets finished, you can check the cloned data on the destination drive.

Create a bootable clone backup for macOS Monterey
AweClone for Mac is able to create a bootable clone backup for macOS Monterey. Just choose OS Clone mode and then connect an external hard drive to your Mac. Click on Clone Now button to securely clone Mac startup disk to the external hard drive.

AweClone for Mac also can help you create a disk image of the source drive and save the disk image to the destination drive. Of course, you can use Time Machine to back up your Mac to an external hard drive on macOS Monterey.


